|
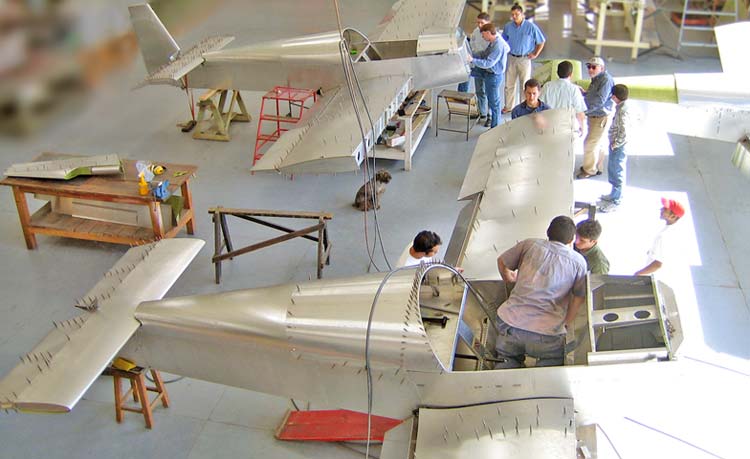
Building the Zodiac
XL |
 |
Hands-on factory workshop
at the Zenith Aircraft factory in Mexico, Missouri. |
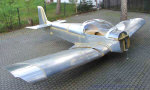 |
Plans-built
Zodiac CH 601, ready for the engine and paint. |
 |
Installing a custom
Corvair auto
engine conversion on a
Zodiac XL |
 |
Completing a Zodiac XL -
ready for the wings |
 |
Zodiac CH 601 HD center wing section. |
 |
Zodiac CH 601 HD center wing section (bottom) with the skin. |
 |
Zodiac CH 601 HD center wing section (top) with the skins. |
 |
Zodiac CH 601 HD center wing section (top) with the seat... |
 |
Zodiac CH 601 HD wing. |
 |
Rear fuselage bottom
assembly. |
 |
Rear fuselage bottom assembly with the
tail sections... |
 |
Building the fuselage... |
 |
Building the fuselage... |
 |
Fuselage Assembly - ZODIAC CH 601 HDS |
 |
Fuselage Assembly - ZODIAC CH 601 HDS |
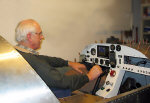 |
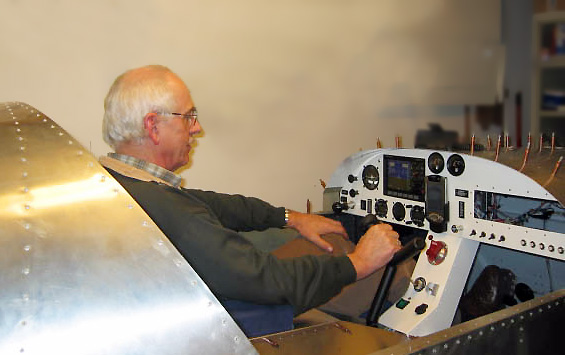
Installing the instrument
panel |
 |
|
 |
|
 |
Zodiac XL fuselage on gear with a custom tow bar for towing on
roads. |
 |
Towing the Zodiac fuselage on the road... |
 |
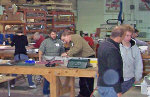
Group photo in front of the Zodiac at a
hands-on builder workshop
(Wilcox, Arizona). |
|
|